I was gently reminded that I haven’t done a great job of giving an overview of how much the house had already changed. I’ve shown bits and pieces, but not large, full house pictures. So thanks, Meg, for the reminder that while I see all that has to be done, we’ve already accomplished quite a bit.
I will say I’ve felt some guilt at changing the interiors. There is a conservationist in me that says to keep everything as it is. But the rational part of me knows that A. Lots of things have been changed over the years, so it’s not like I’m altering 120 year old interiors, B. I am bringing a lot of elements back to what they were and C. Houses won’t last long if they aren’t adapted to current styles and standards.
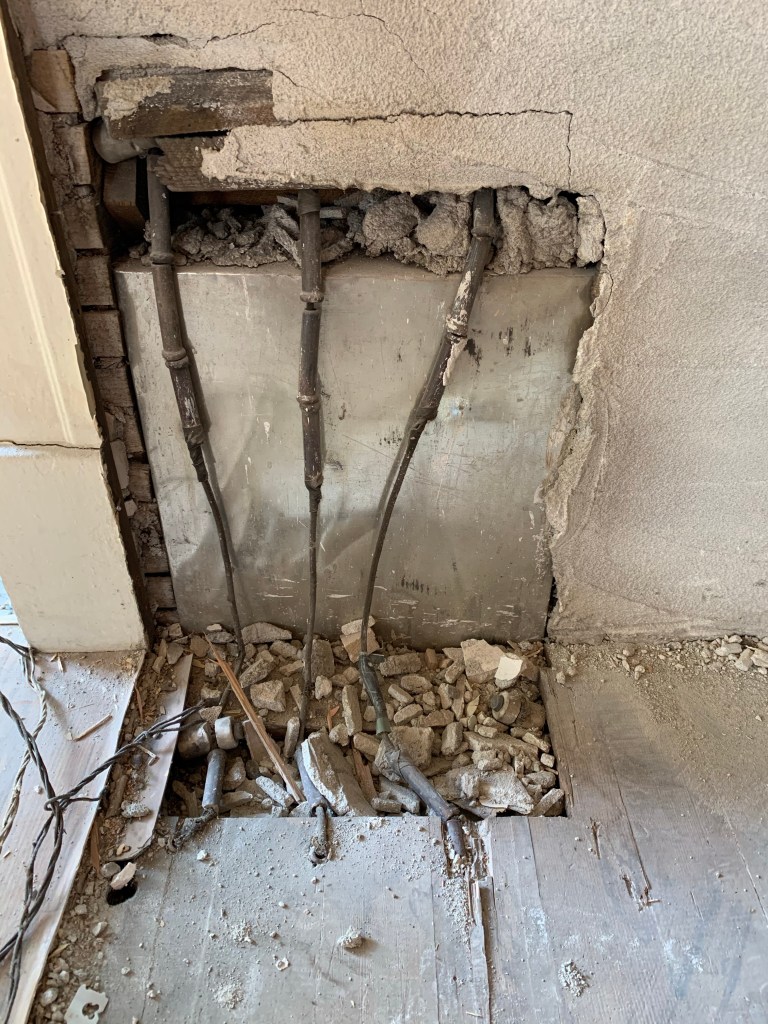
There was little we could do to replace the systems – mechanical, electrical and plumbing – without moving some walls. And if we didn’t get the systems updated, the chances of losing the Old Lady to a fire or water damage was too great. So…there’s all sorts of justification. But there are also times it hurts my heart a bit. I just want to get that out there.
But now…here are before and now pictures. 🙂
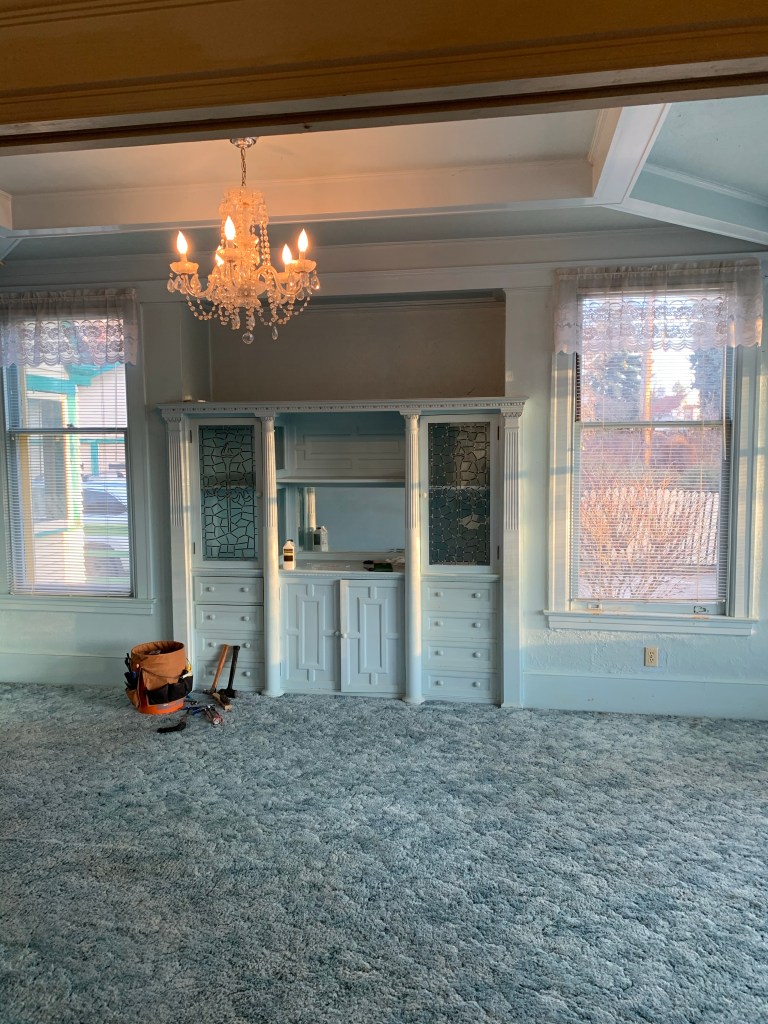
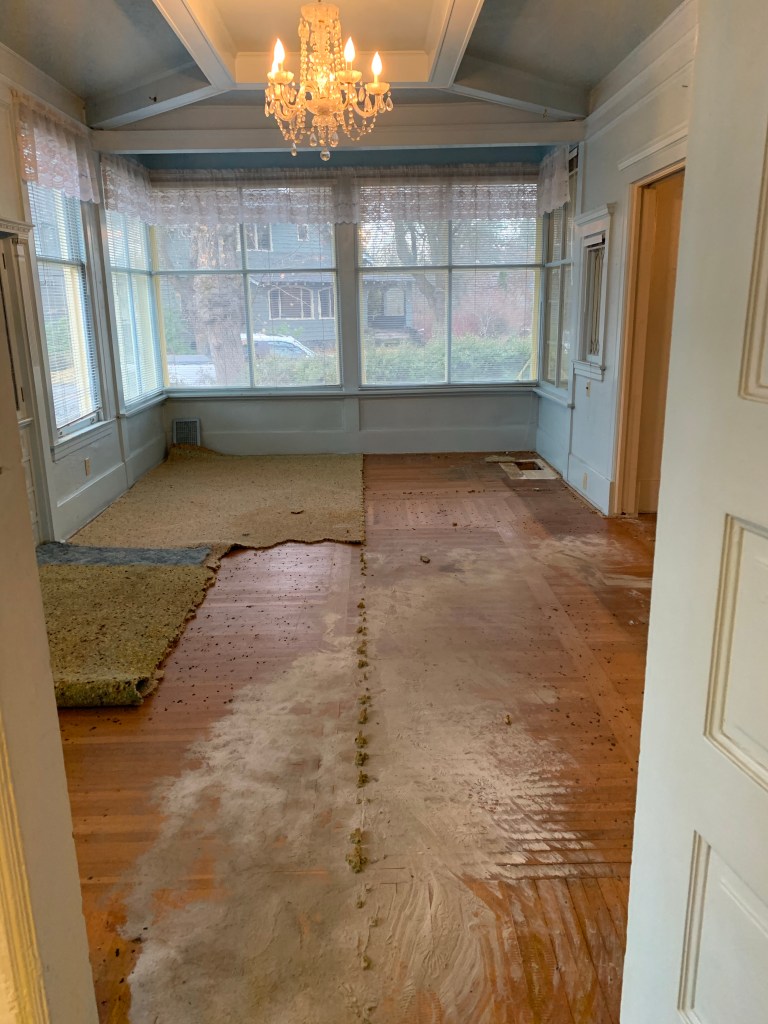
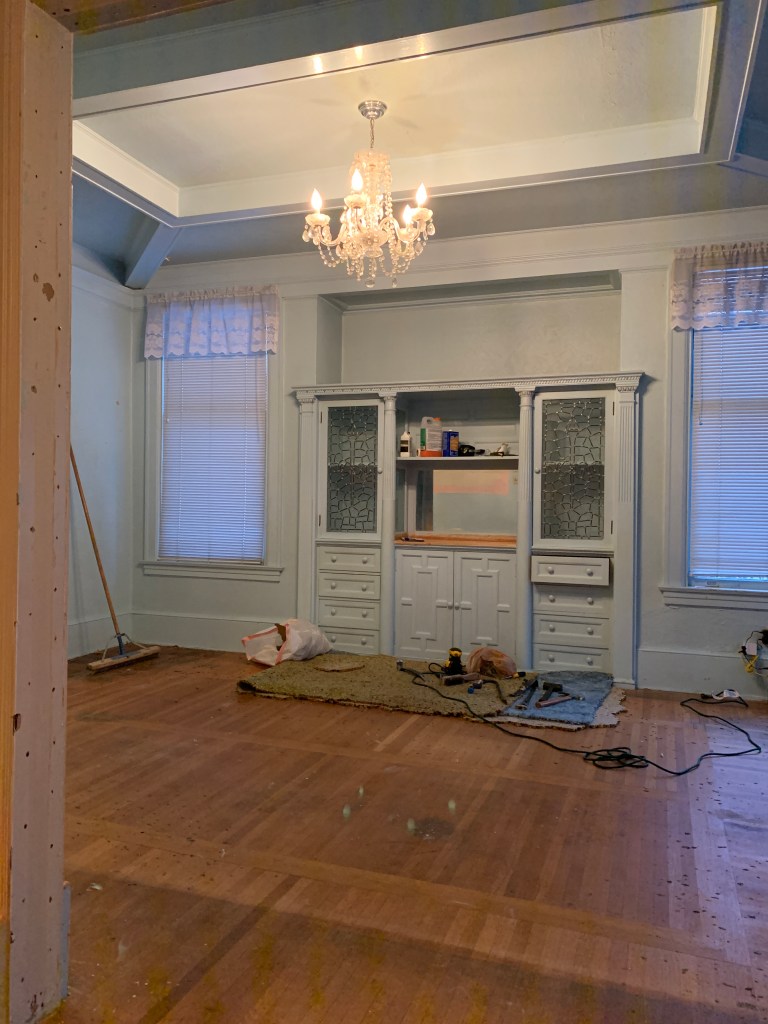
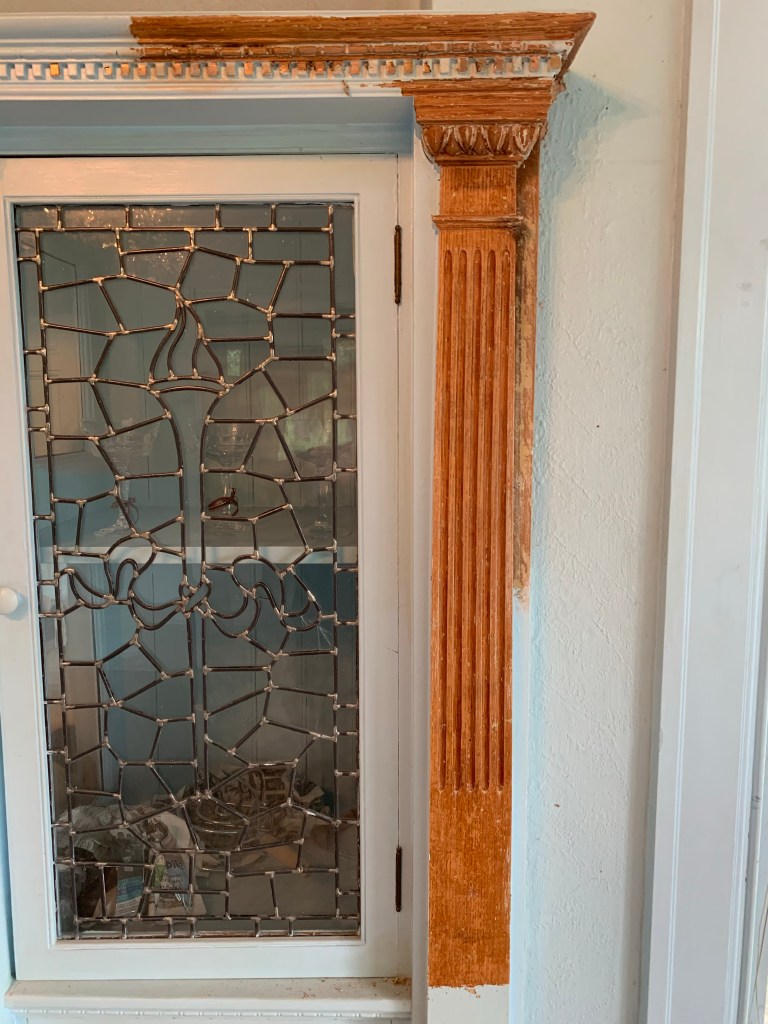
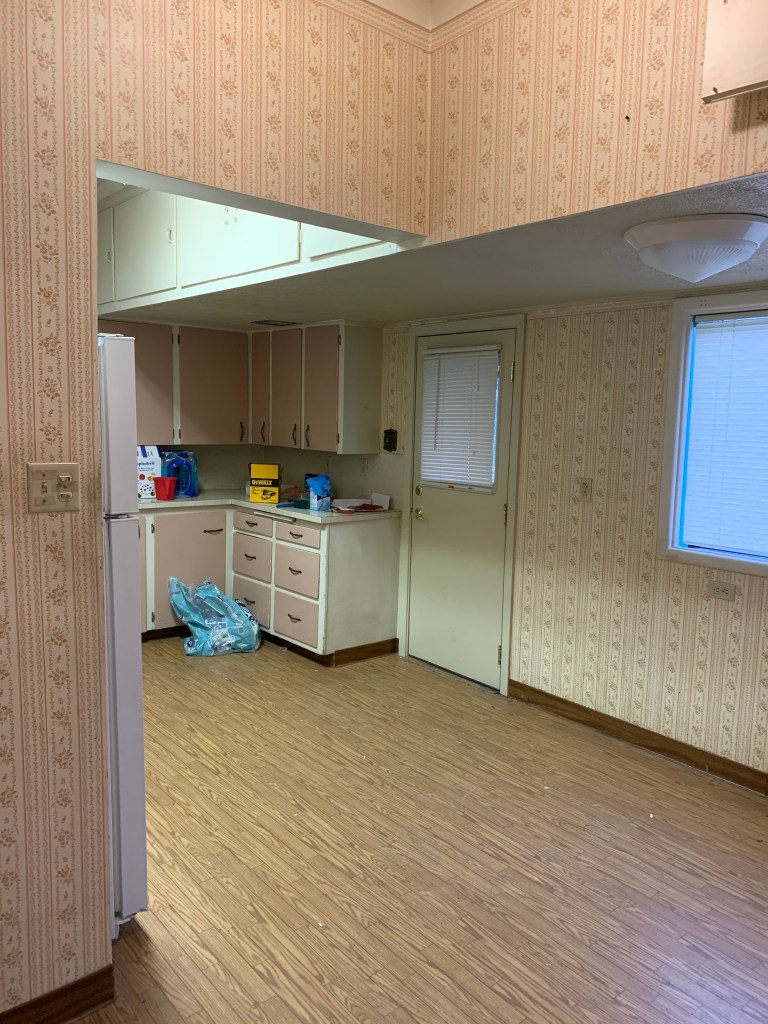
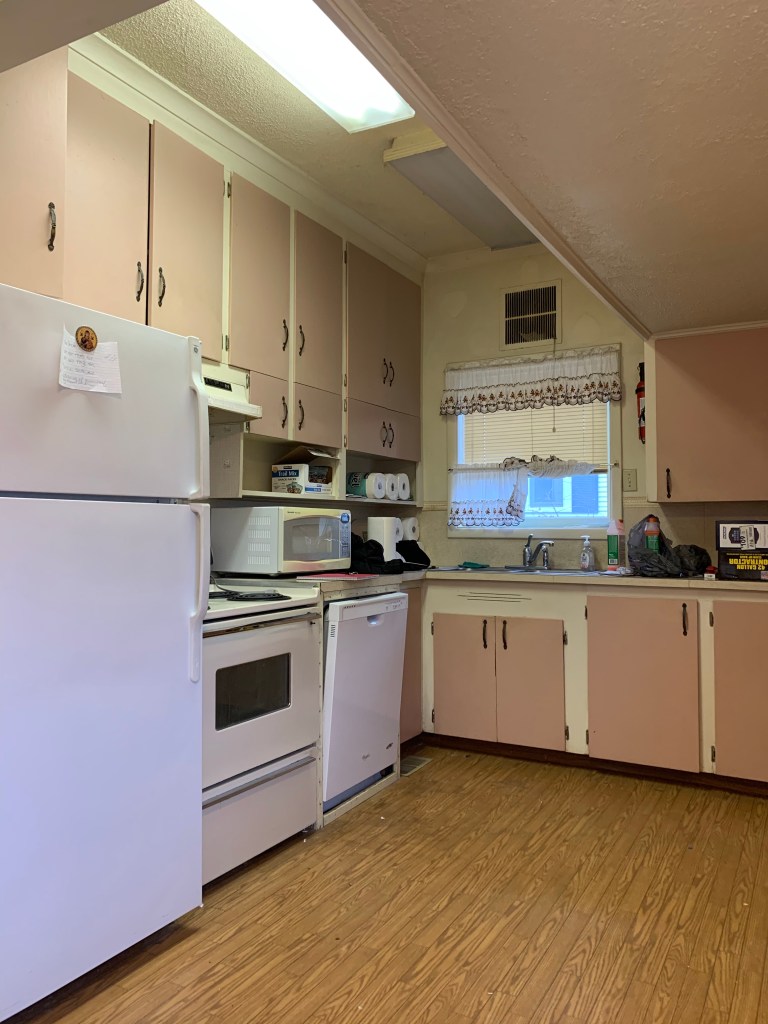
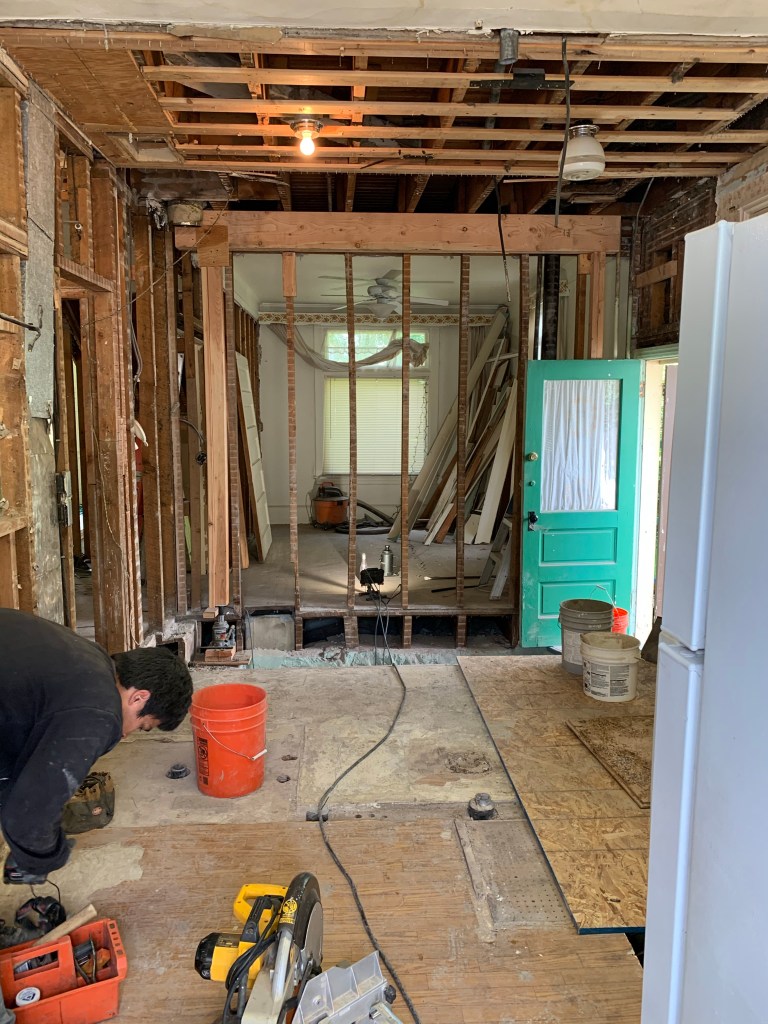
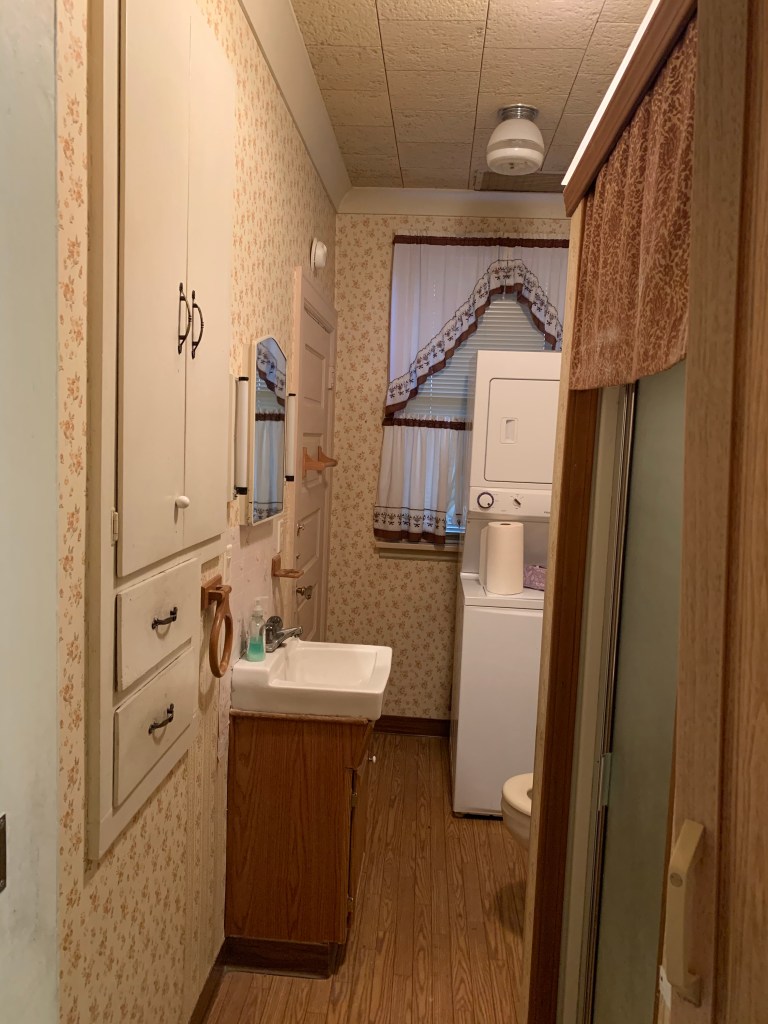
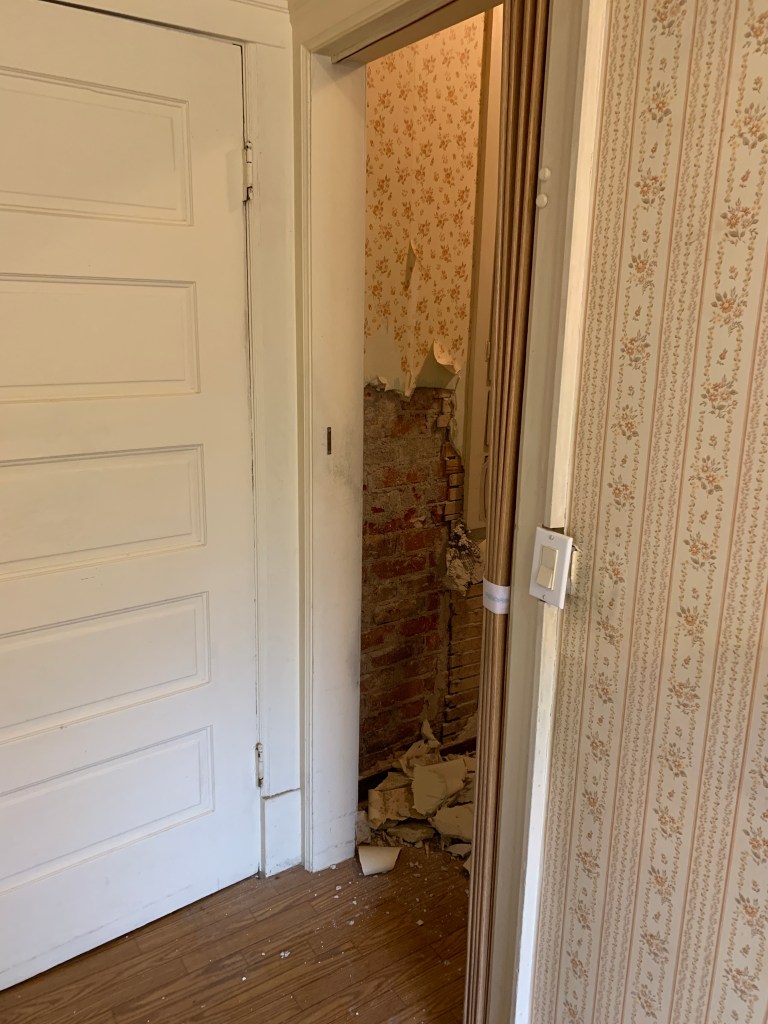
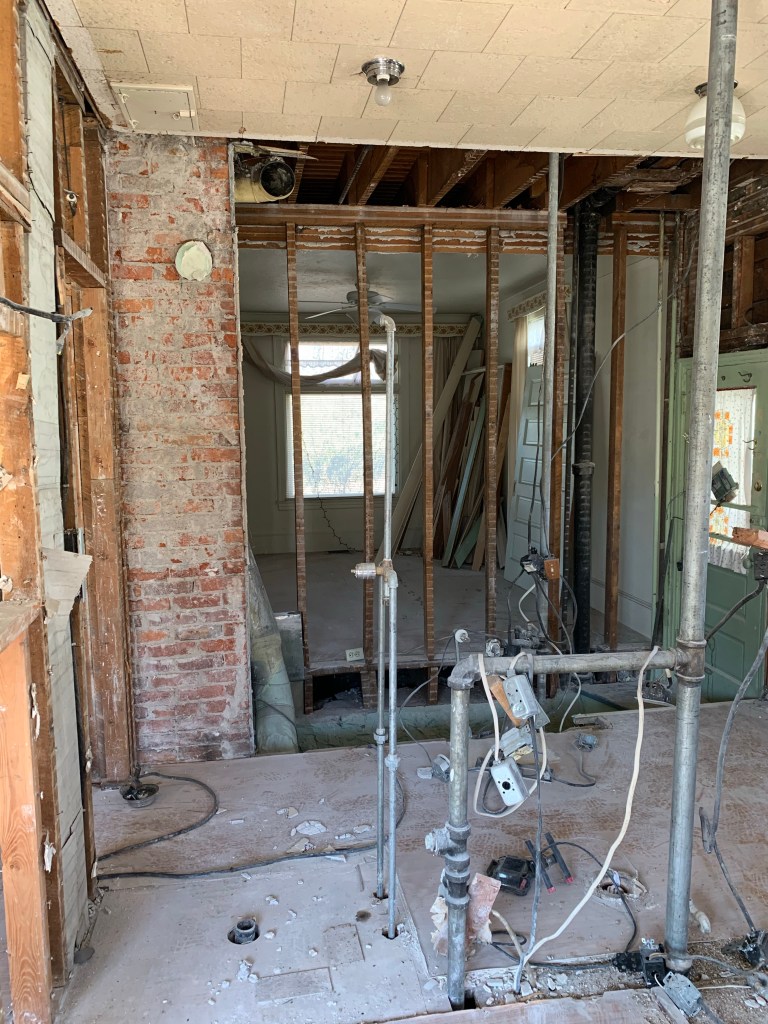
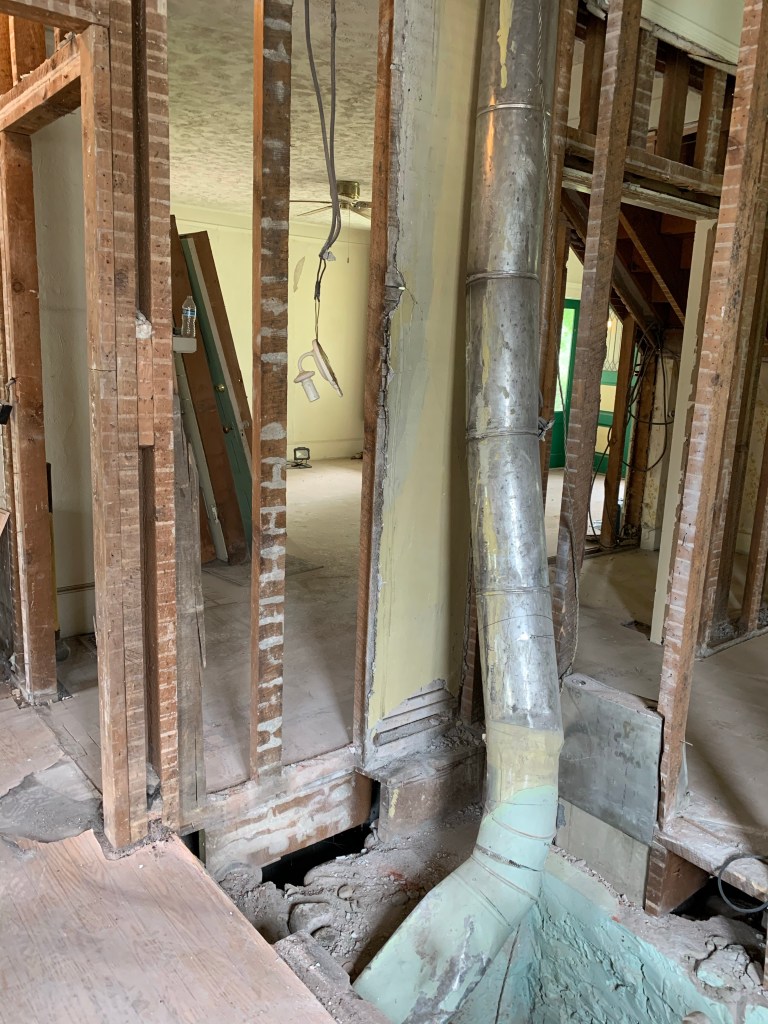
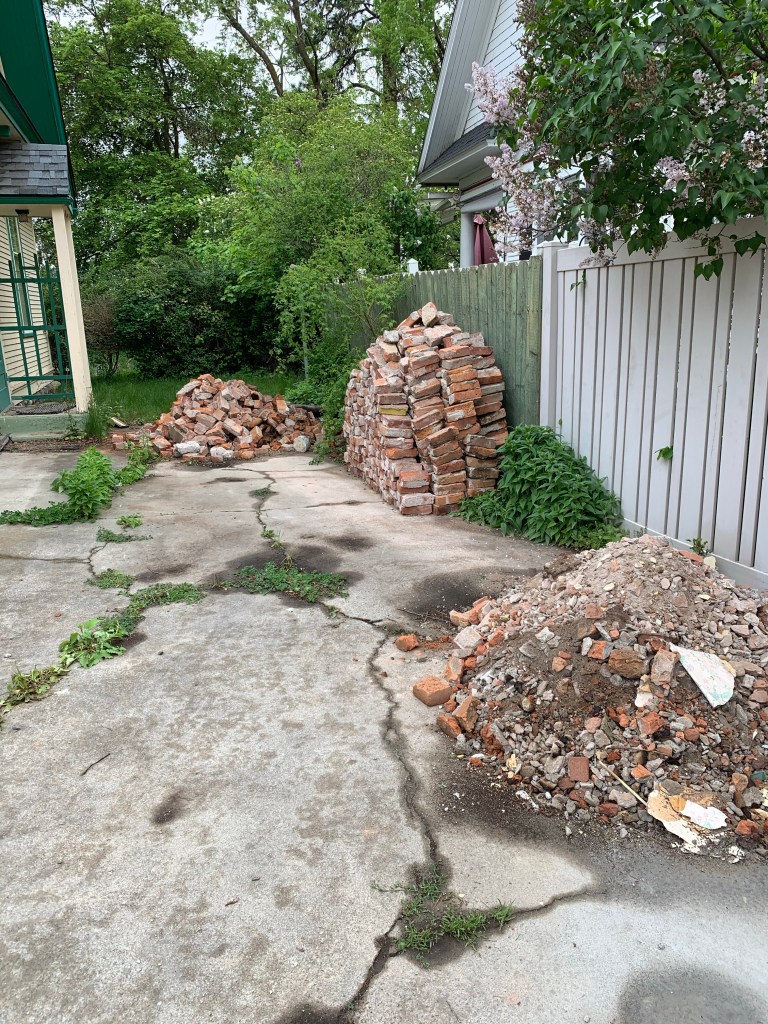
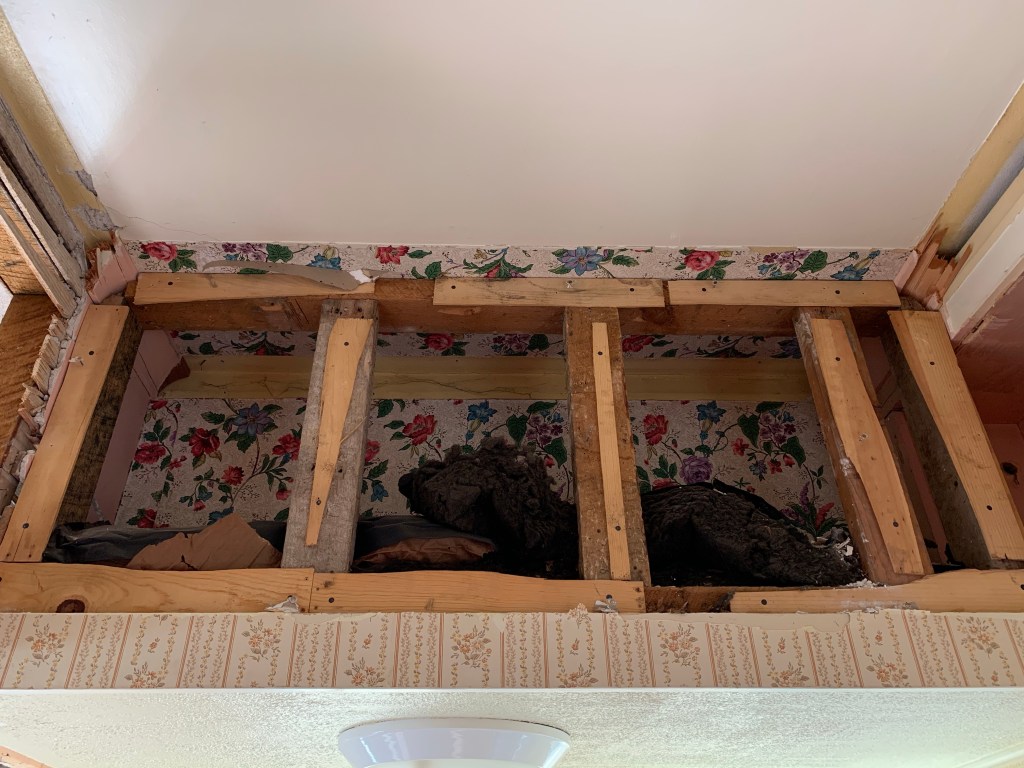
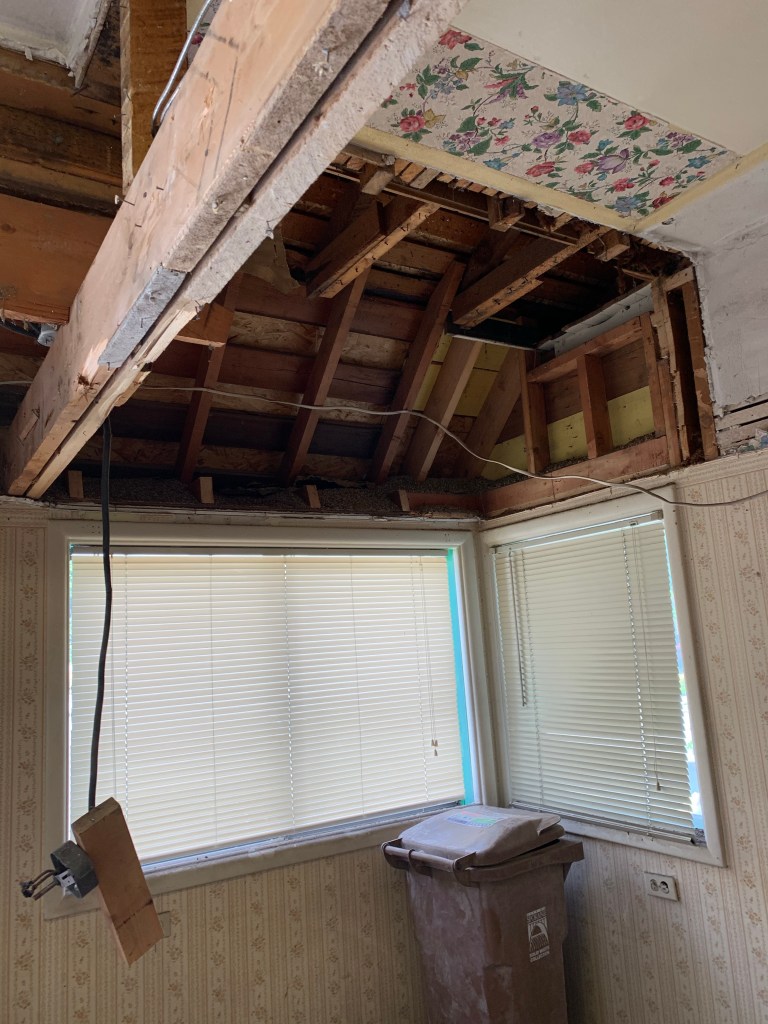
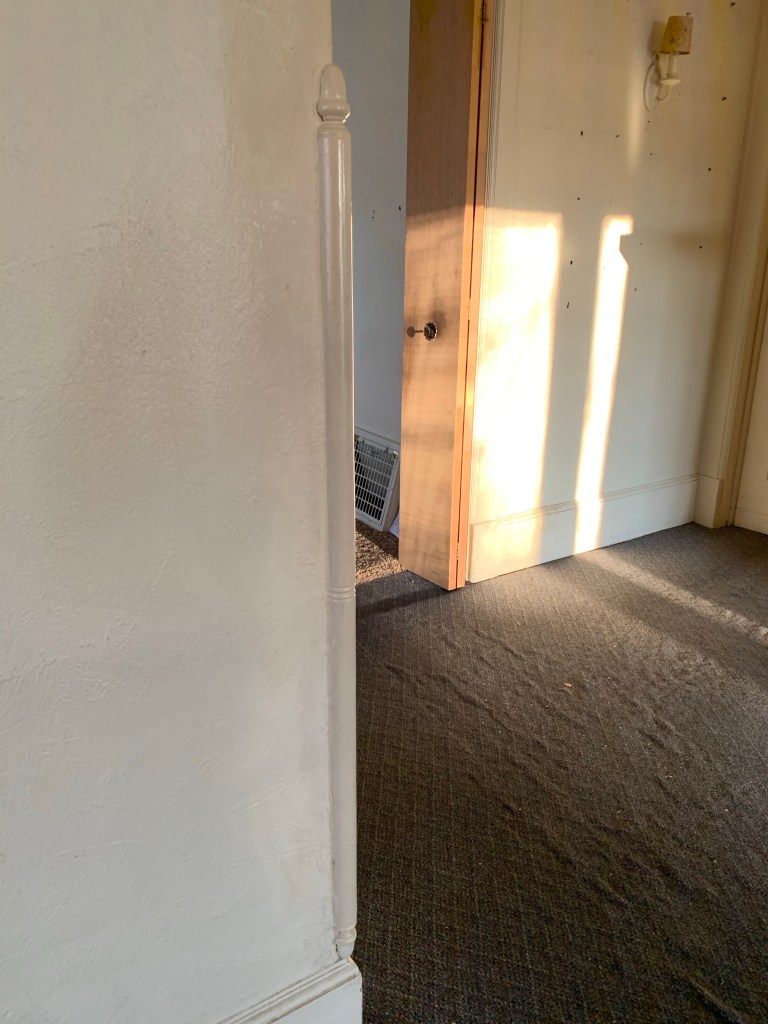
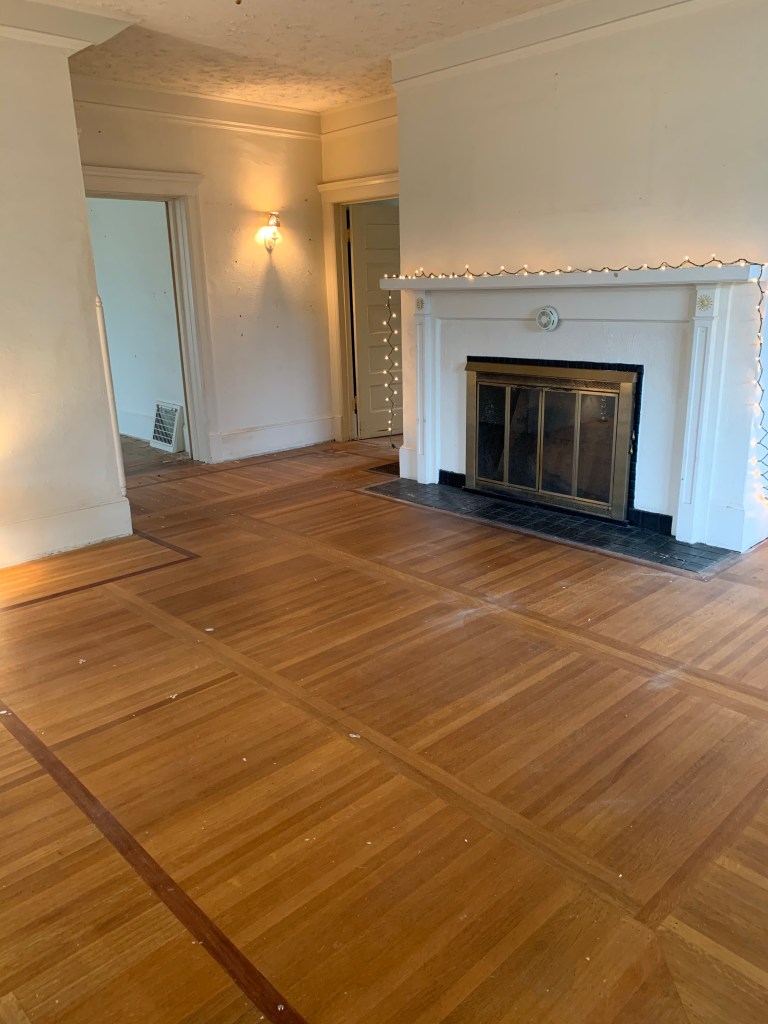
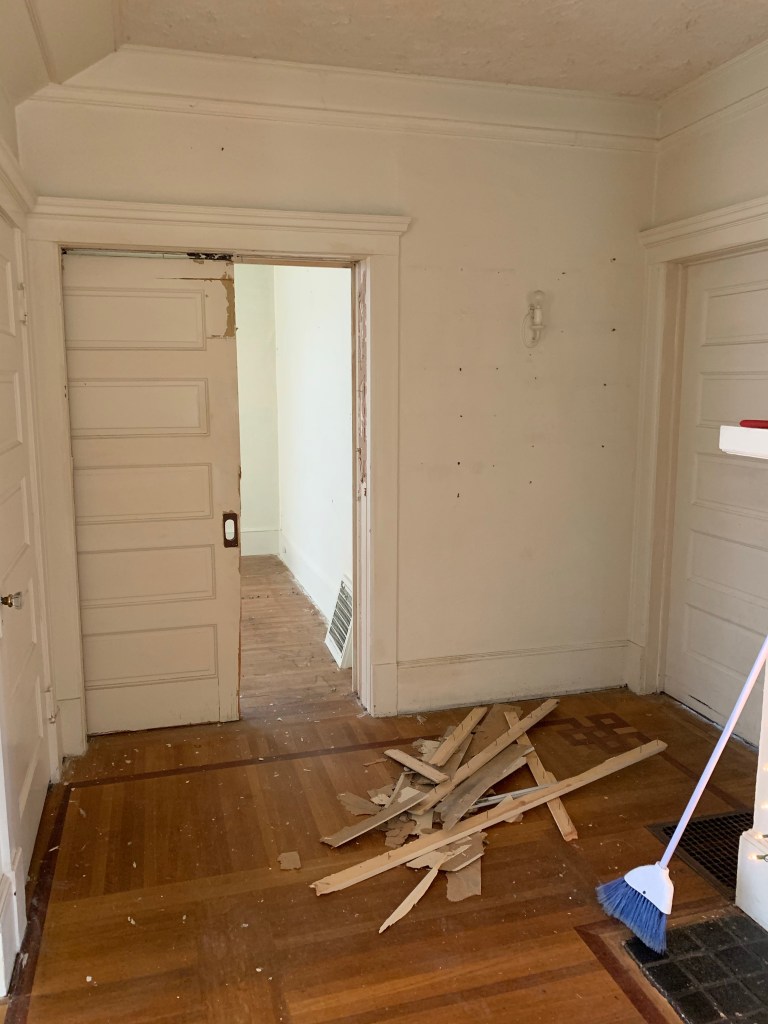
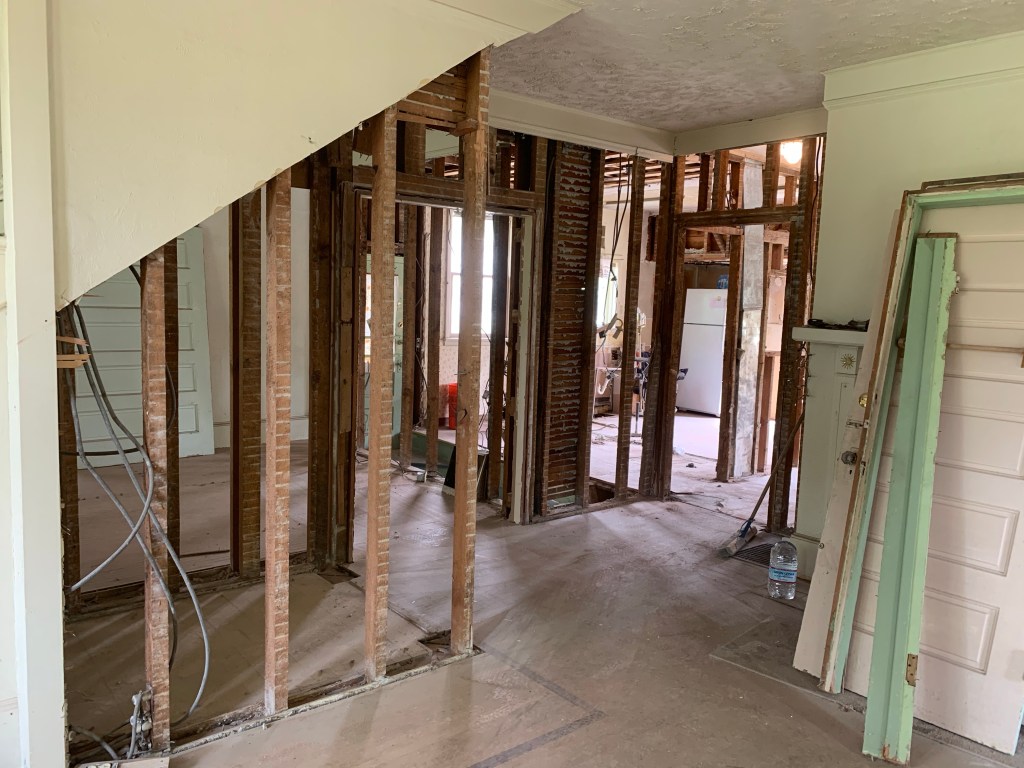
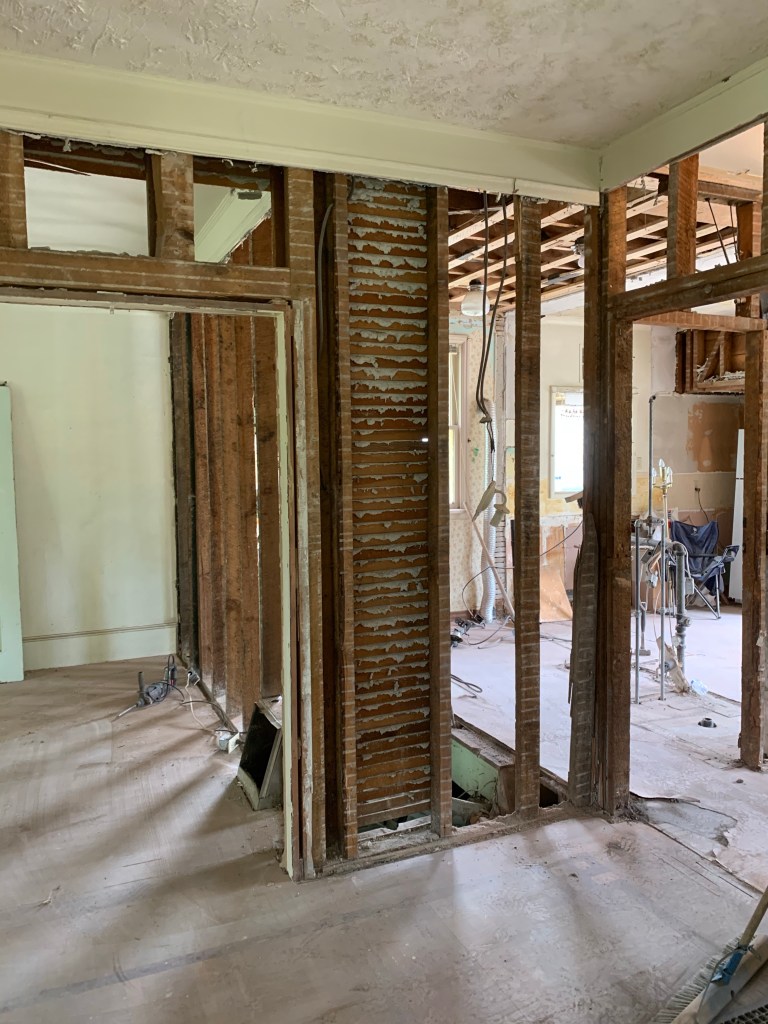
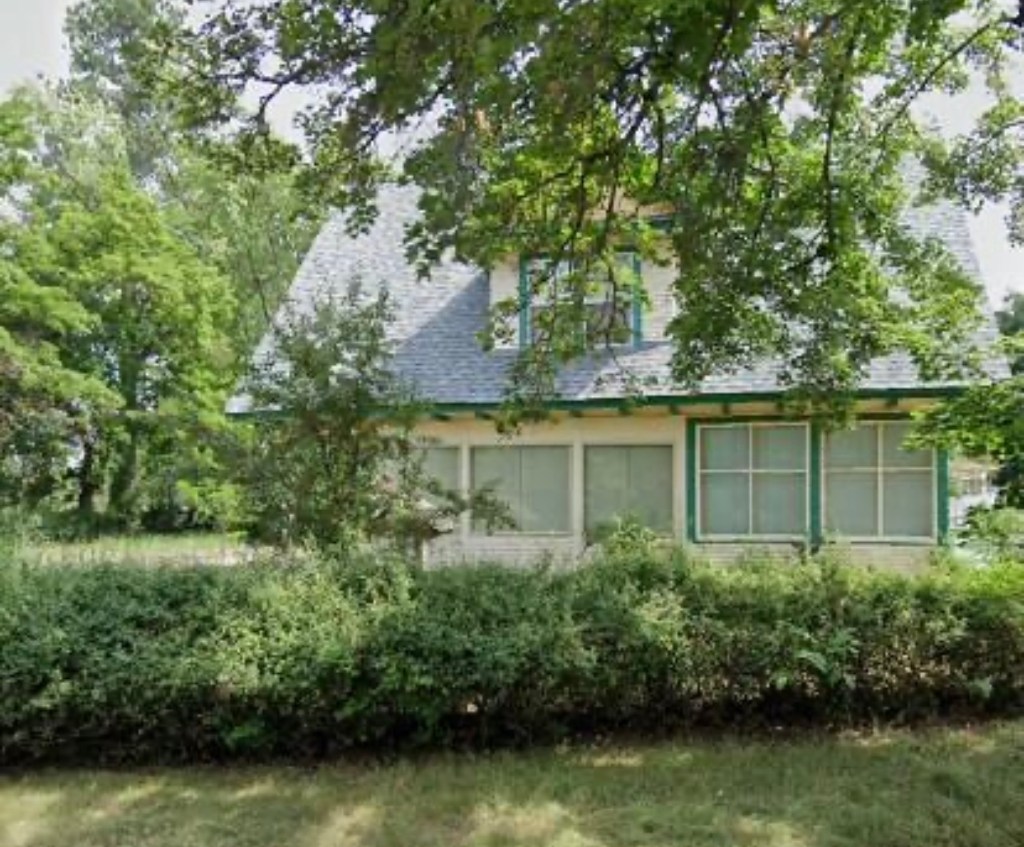
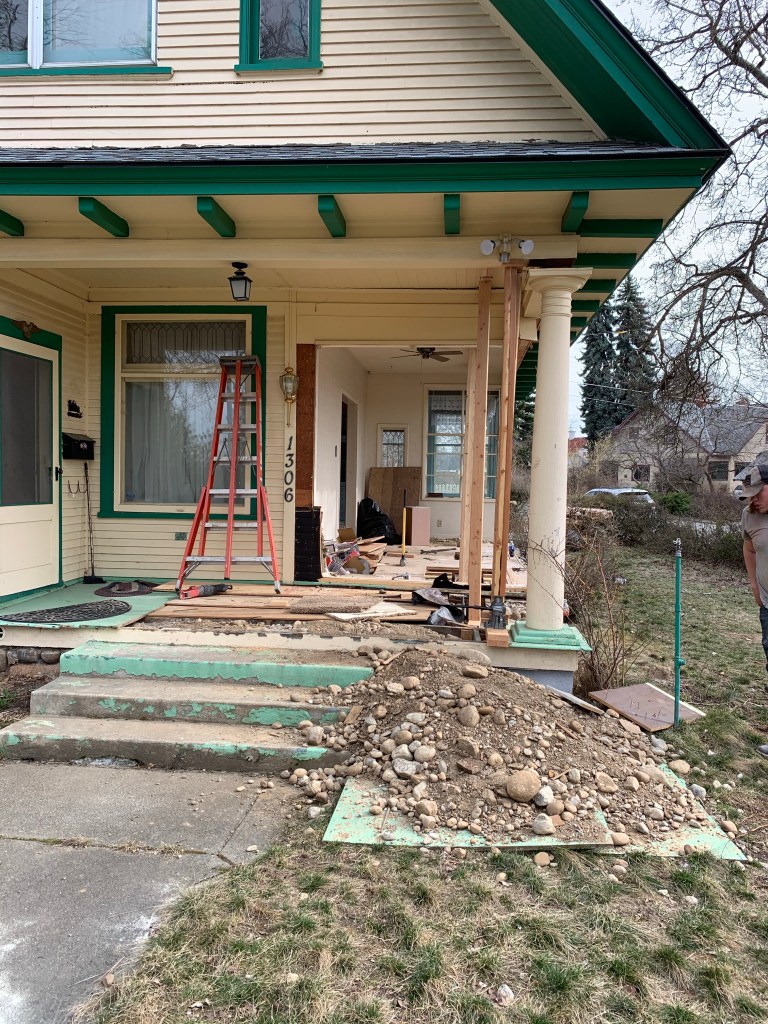
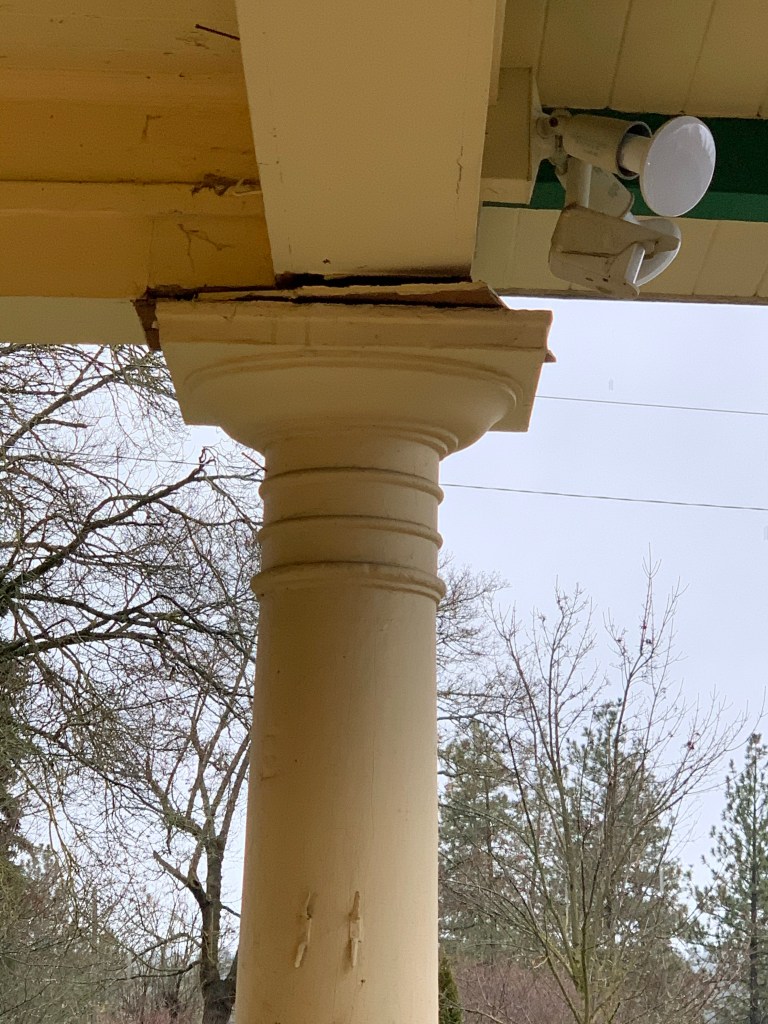
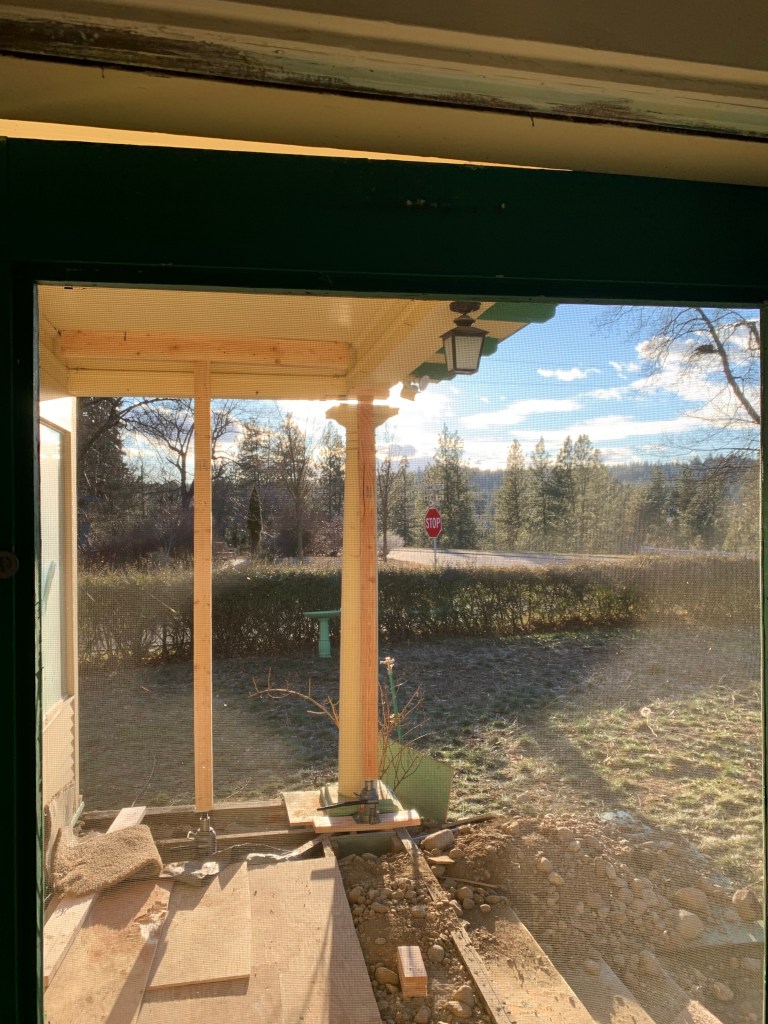
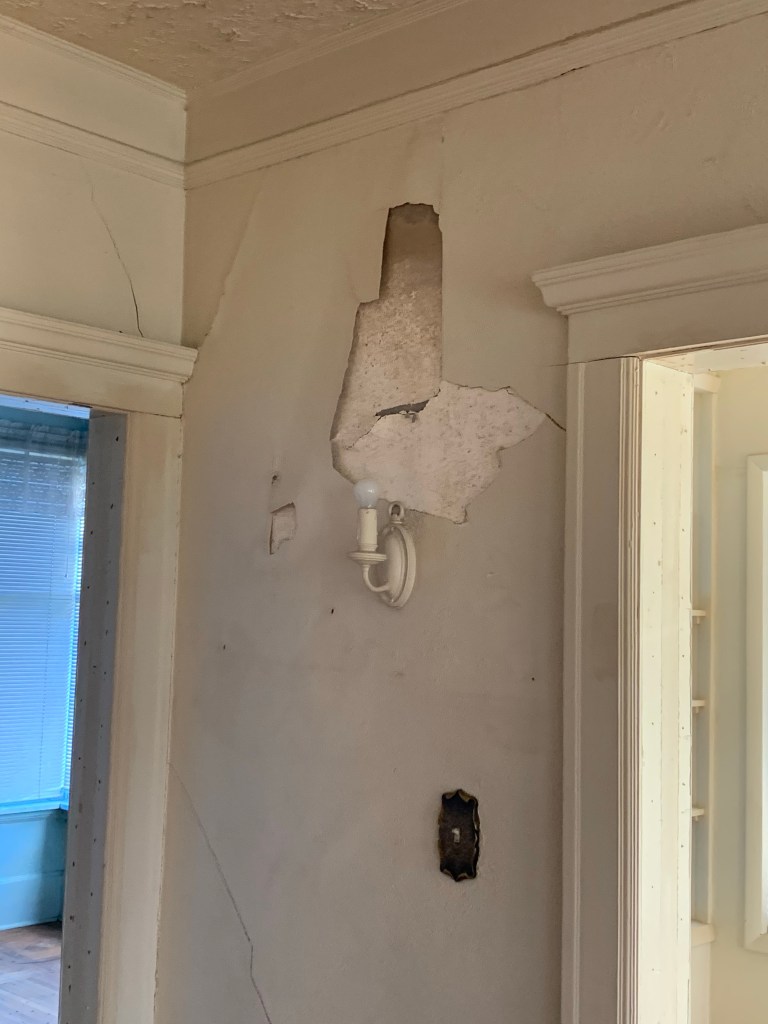
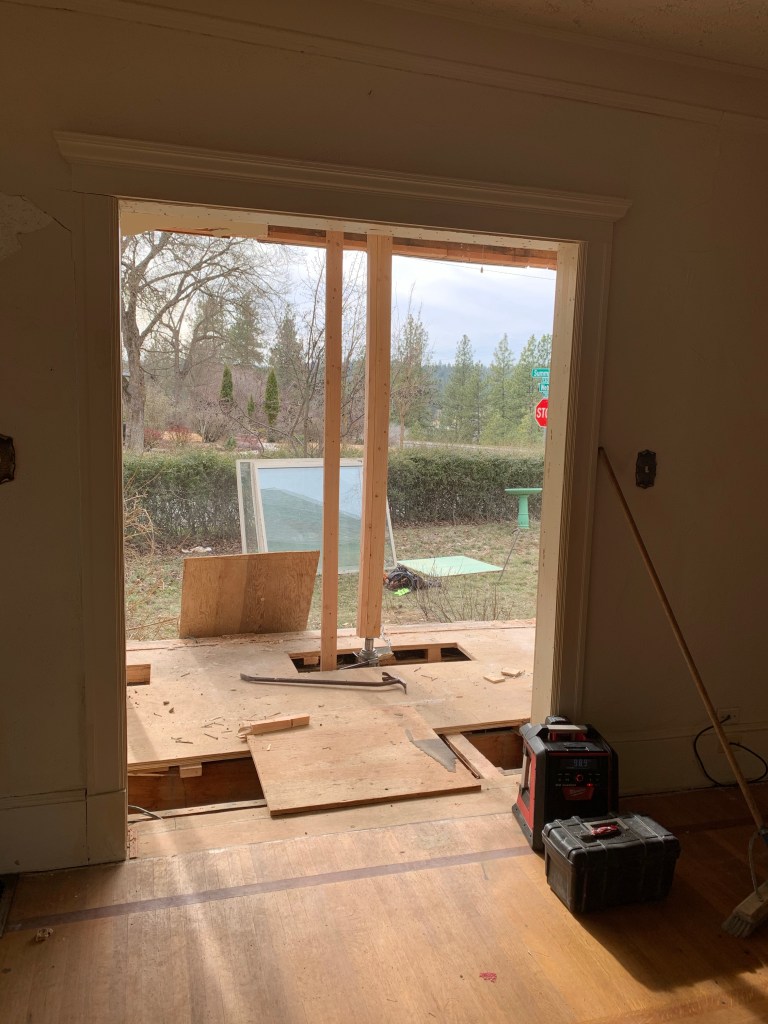
Dining room in all its blue glory. Getting the carpet upWith the blue carpet removedAnd with the blue paint slowly going awayKitchen in all its 1950s gloryKitchen midway through demo And now. Note the stair in the middle of the space which is in the process of being moved to the side of the spaceHorrible bathroom addition that’s gone now This weird little bathroom is also gone now. You had to walk through the bathroom to get to the basement stairs and side door. It’s all been opened up into one space again. The brick you see was the kitchen chimney, which we removed.Note the kitchen chimney. We almost left it. But historically-speaking it never would have been seen, so leaving it as an exposed brick feature didn’t make historical sense and it took up some prime space for the new kitchen and powder roomFormer location of kitchen chimney. It was blocked off off in the attic and only used for the kitchen stove Looking up up up through the hole left by the kitchen chimney. Note the black scorch marks on the lath. 😬We saved the brick from the chimney to be reused elsewhere! While the entire house has 9’ ceilings, this weird little 1950’s addition has a dropped ceiling,Breaking inside the dropped ceiling to some cool old wallpaperAnd removing more of the framing so we can raise the ceiling to 9’ while still maintaining the exterior roofline. This space will be the utility room and “drop zone.” It is going to be the main entrance from the garage/driveway.Living room. Close up of the corner molding, but also note the folding doors that were in every opening. And the gray carpet. but you can also can Living room with carpet pulled up, folding doors to parlor removed. That’s the opening where I’ll find the pocket door eventually. Door behind the fireplace leads to bathroom/kitchen.Discovery of the pocket door Closet under the stairs is going. Pocket door has been found and removed for reuse in another location. Parlor area will become part of new kitchenOpening walls between the living room and the new kitchen area (former parlor/stairs/bathroom)Lath and plaster is so prettySo is knob and tube Side view of house showing the porch that had been enclosed Now the porch is open again!The structural work that wasn’t pretty but was so necessary. The previous fixes had attempted to make this decorative column hold the weight of the second floor overhang. Not a great solution. Once we addressed the real problem, the roofline stopped pressing on the column and was properly supported by the floor joists. The lift did create some plaster cracking. This is pretty cool though because you can see the scorch marks up the wall from when those sconces were gas!The new porch with the temporary jacks and beams.


Yay! Love these pictures-amazing to see all you’ve done already. So proud of you!
LikeLike